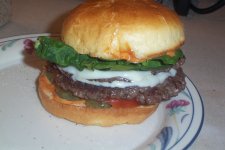
Okay, after multiple attempts, I've pretty much perfected this burger.
This is another variation on the soon-to-be-world-famous break-through burger bit recipe.
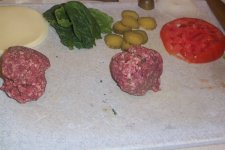
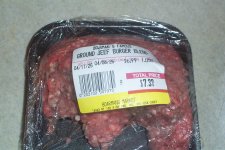
Start with a relatively small ball of high quality ground beef that's around 80/20. Ground chuck is popular. Your butcher might sell a burger blend which would be even better.
The beef for one burger should be somewhere in the one-sixth lb to quarter pound area in weight. That would be 75-113 grams. Mine shown here is 100 grams.
This works best as a small burger because of its extreme tenderness. If you want a half pound burger, make two quarter pound burgers.
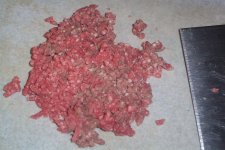
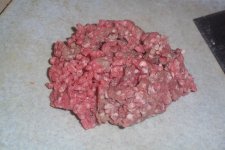
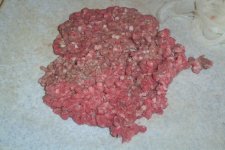
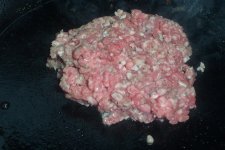
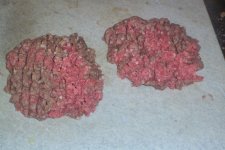
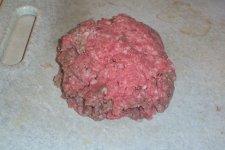
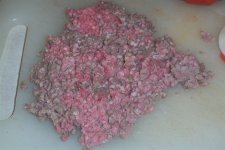
Place it on a board and chop it up thoroughly, back and forth, left and right. You can us a knife or a griddle scraper or a metal spatula with a straight edge. When you're done, it should look kind of like this.
Acquire a four-inch diameter cake ring such as the one shown below. Put a little oil on the inside of the ring so that the ground beef doesn't stick to the ring. Slide a nice wide spatula under that chopped ground beef and gently place it into the four-inch-wide round cake mold while it sits on the board. It won't quite fit, so help guide it in with one index finger. Do not season the meat. If you don't have a four-inch round cake mold, you can find them on Amazon.
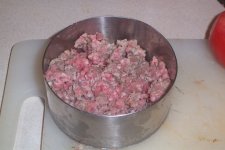
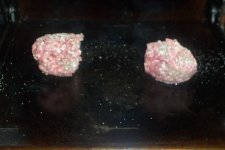
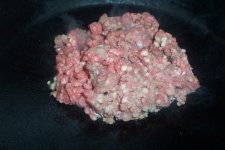
What we have here is a pile of loose ground beef bits. It's not a patty - it's just a pile of bits.
Slide spatula under it and place in pre-heated pan with a surface temp of about 300 F.
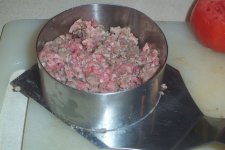
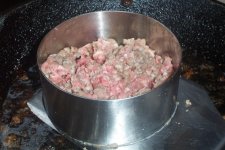
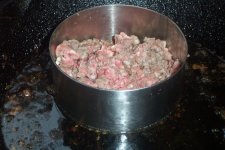
Get a light burger press ready. Oil the bottom of it so it won't stick to the ground beef. Now spin the ring in the pan to be sure the meat is not sticking to the metal ring. Once it's loose, remove ring and
immediately gently place the light press on top of burger. Do NOT smash it. You must do this quickly because the circular shaped pile of burger bits will try to collapse if you delay.
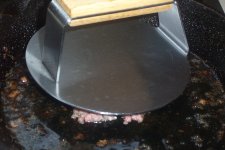
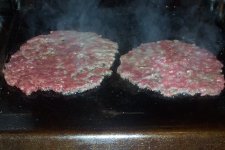
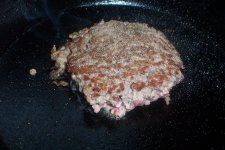
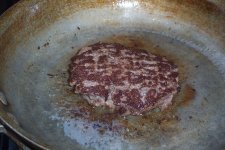
The purpose of this is to coax the ground beef bits into sticking to each other. As the bits heat up, the proteins will adhere and the pile of bits will magically become a patty. But the patty will have pockets of air all through it. That's part of the magic.
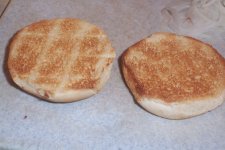
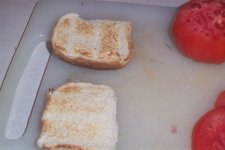
Let it cook 4 mins. Meanwhile, toast your buns.
After about 90 seconds, you can remove the press.
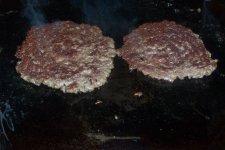
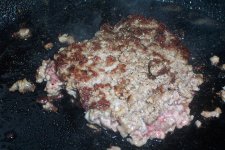
After 4 mins, slide wide spatula under patty and gently flip. You will find that the bits are now a tender patty. But the patty will have little pockets of air in it.
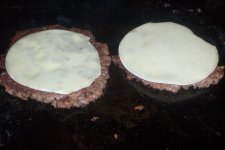
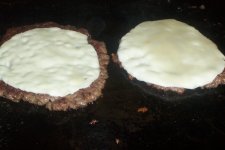
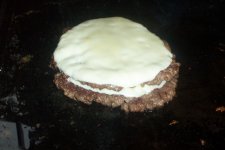
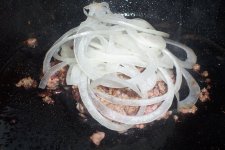
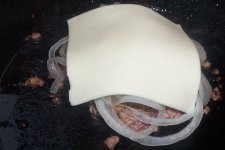
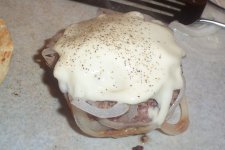
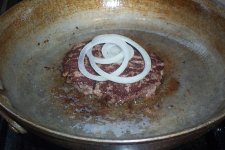
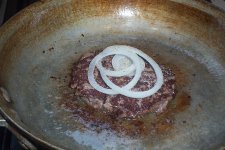
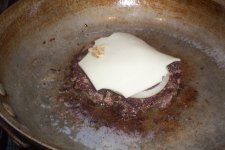
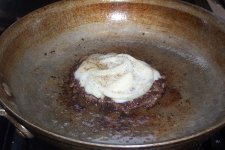
Season generously. Add thinly sliced onions. Add cheese (I used Provolone). The cheese will melt into the ringed onion slices, trapping air within.
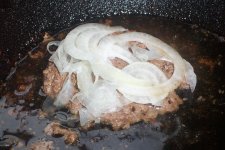
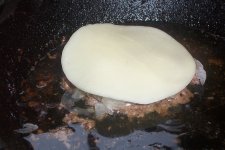
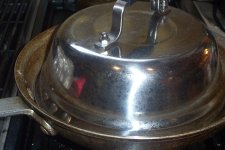
Place melting dome over pan and cook another 3 mins. If you don't have a melting dome, use a square of tented foil.
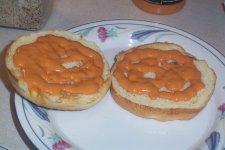
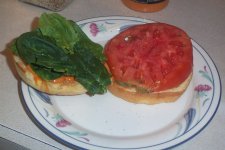
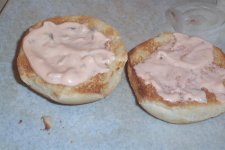
While the second side is cooking, prep your toasted buns. I used Wahl Sauce on both buns, but you can use mayo, ketchup, a combo, or whatever you like. I suggest iceburg lettuce or a curly spinach leaf on the
bottom bun, followed by a tomato slice on the lettuce. Don't forget to season the tomato. If you want pickle relish or maybe a cherry pepper relish, spread it on the top bun.
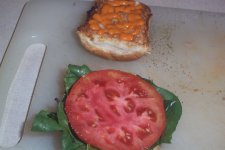
I like pickled cherry peppers on my top bun.
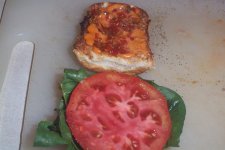
When the 4 mins is up, your burger is ready.
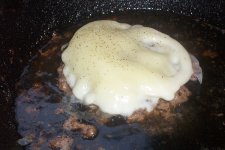
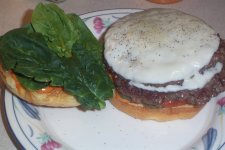
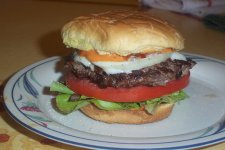
Place on bottom bun. Crown with top bun. Note that toppings are on the bottom bun! I believe there are several advantages to this. Onions are on the top under the cheese. Serve immediately.
The burger in the photo is a 100 gram burger and I used a slider bun because that's what I have.
A slider will work well for a 75 gram burger. A normal burger bun works well for a 113 gram (quarter lb) burger. There is no need for a fancy brioche bun.
As you eat, be sure to lean far into the plate to catch the juice.
This will be the most tender and most juicy and probably the most flavorable burger you've ever eaten. There will be a pool of juice in the plate once you are finished.
The burger will be absolutely amazing. Best burger you've ever had.
If you are making a second burger, you're going to need a clean plate.

 }})